A cracked or shattered phone screen is one of the most common issues smartphone users face today. Whether it slipped from your hands, fell off your desk, or hit a hard surface, screen damage can disrupt the device’s usability and appearance. Thankfully, repair solutions have advanced significantly, offering users more options than ever before. This comprehensive guide will walk you through broken screen repair methods, what to expect during the process, and how to get your phone back to perfect working condition.
Understanding the Importance of Screen Repair
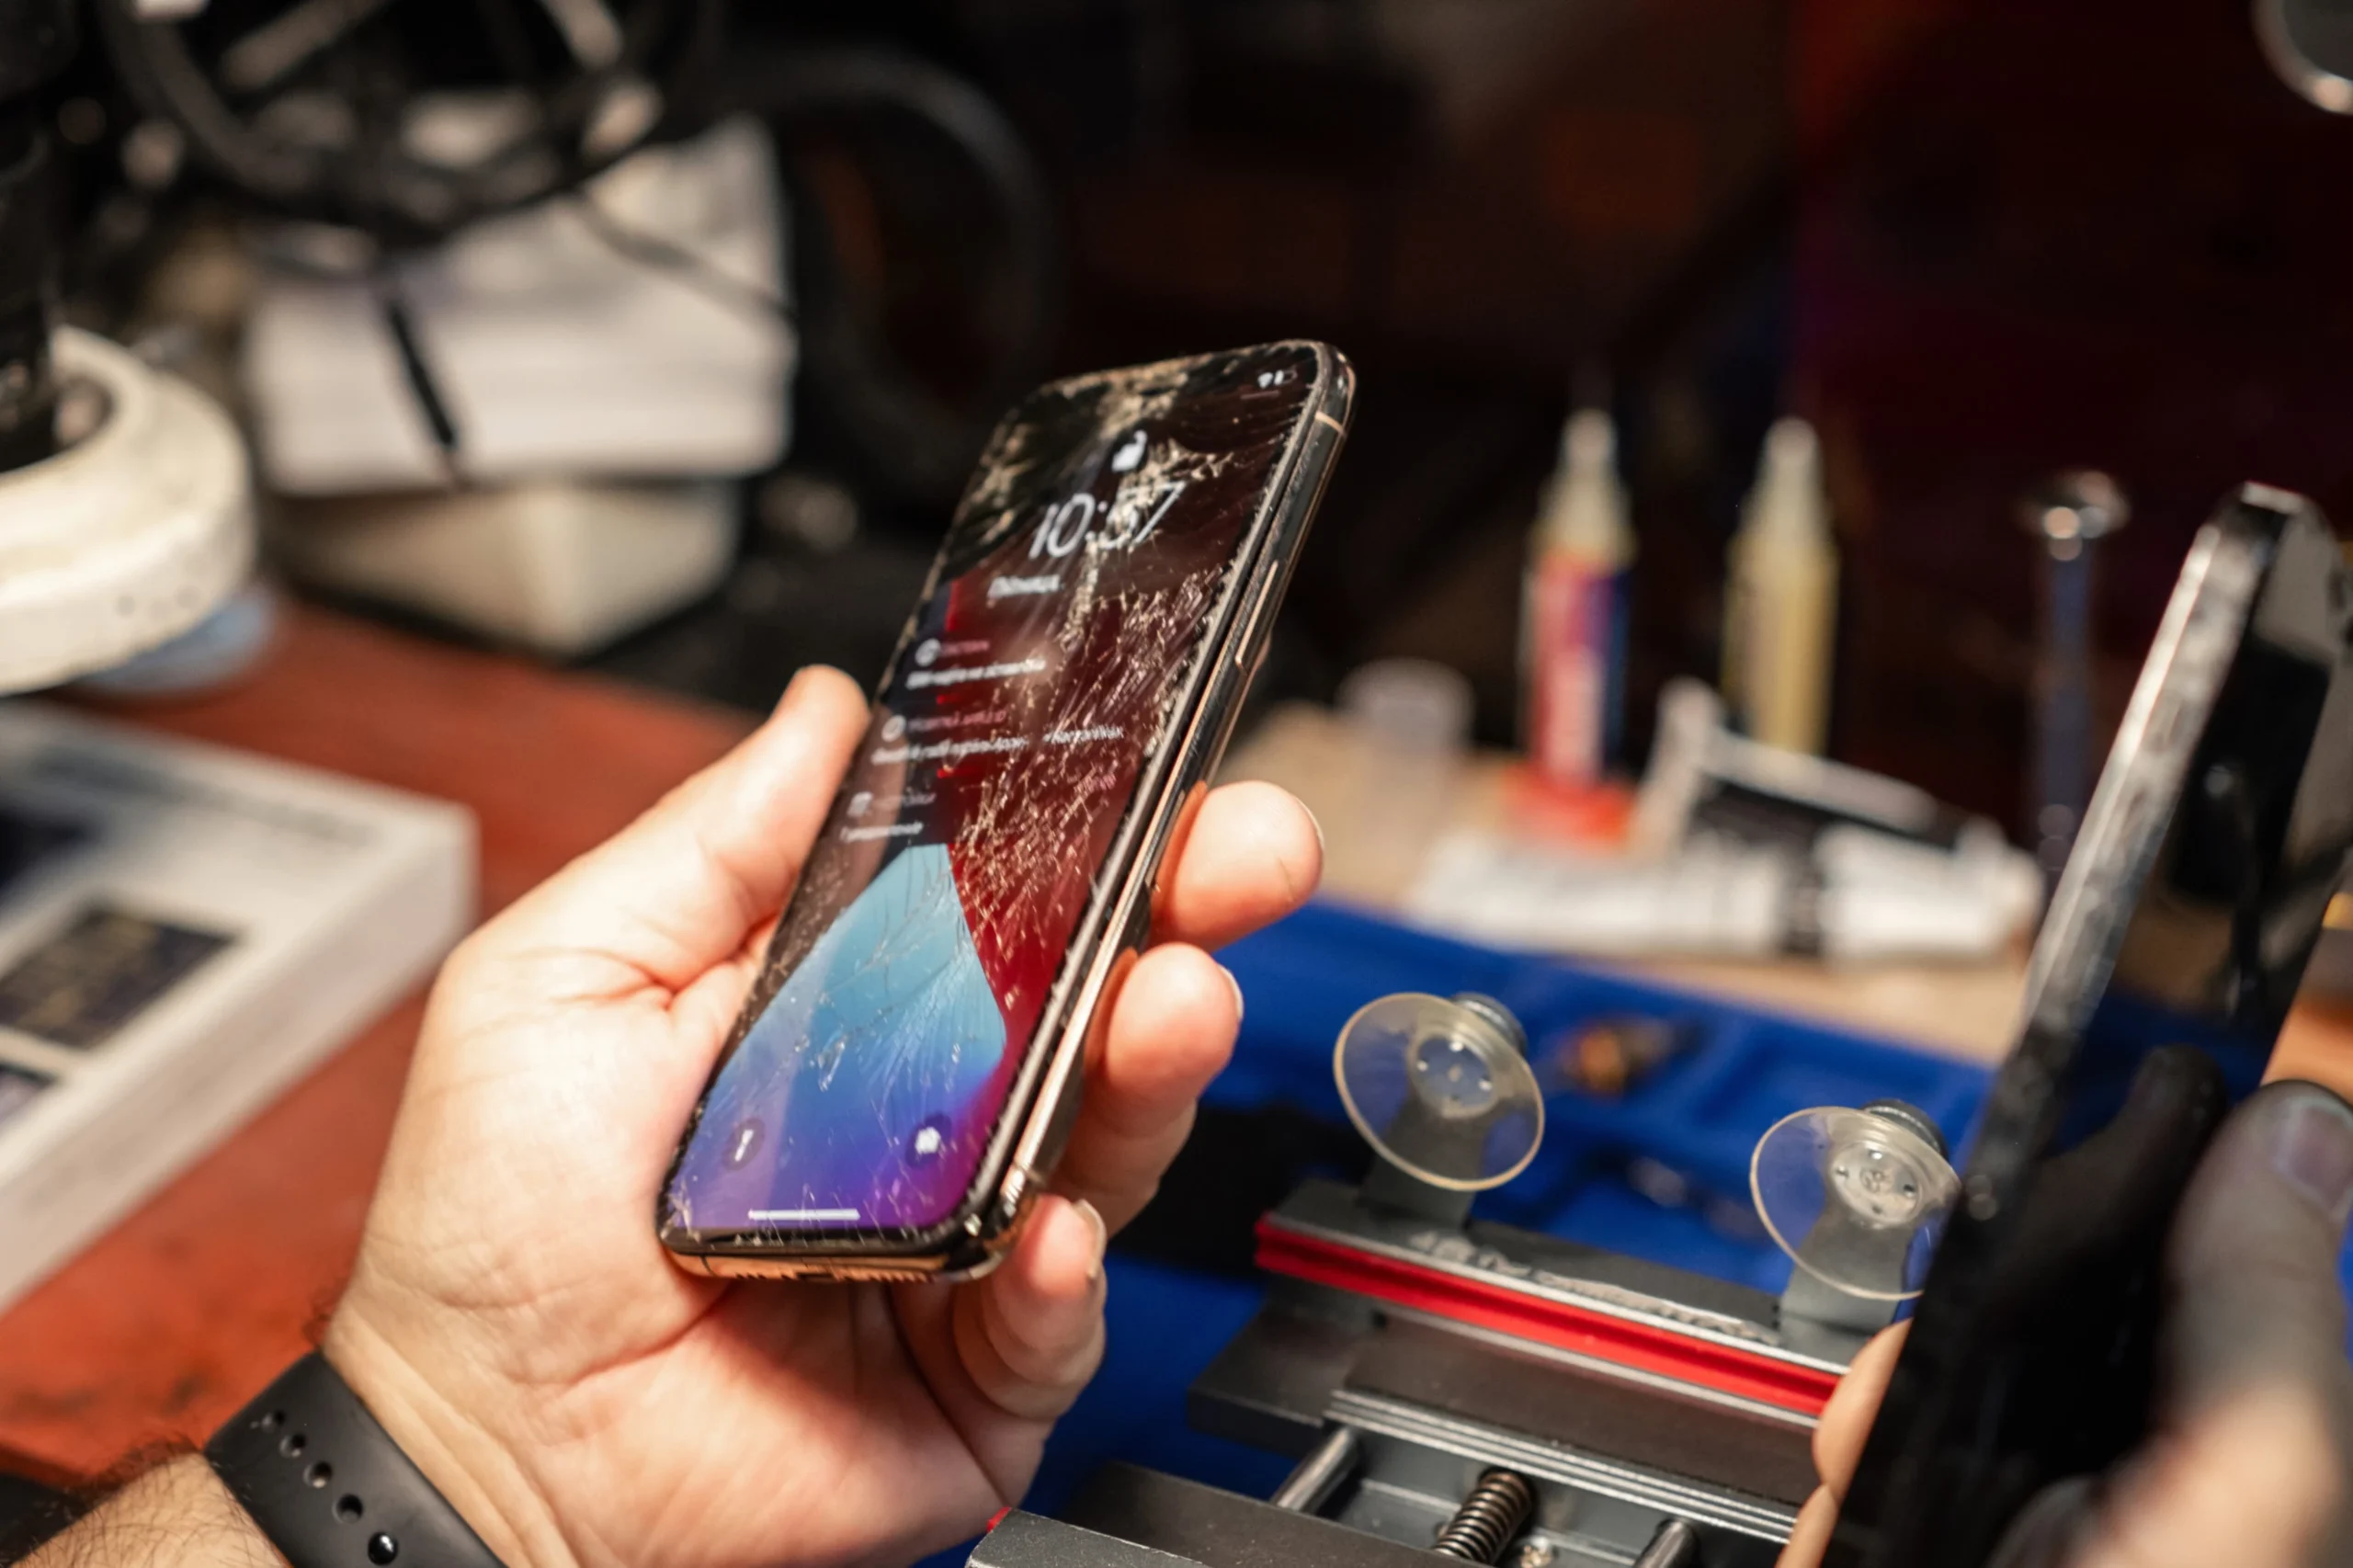
A damaged display affects far more than visuals. It can weaken touch sensitivity, expose internal parts, and even cause further damage if not fixed quickly. Many users look for trusted Broken Screen repair services when their screen becomes difficult or unsafe to use. Repairing the screen promptly is essential to maintain the phone’s functionality, safety, and value.
Why Repairing a Broken Screen Matters
Ignoring a cracked screen can lead to multiple complications. Sharp glass edges can injure your fingers, and deep cracks allow dust, moisture, and debris to enter the device. This increases the risk of internal failure. Moreover, touchscreen sensors beneath the display can malfunction over time, making your phone less responsive and harder to use.
Replacing a broken screen improves usability, enhances the visual experience, and ensures your device remains protected. It also maintains the phone’s resale value, as potential buyers prefer devices in good condition.
Types of Screen Damage
Not all screen damage is the same. Understanding the type of damage helps determine the best repair strategy.
Minor Surface Cracks
Small, hairline cracks usually affect only the top layer of glass. These are less severe but can spread if ignored.
Deep Cracks
Deeper cracks often impact both the glass and the digitizer, leading to poor touch sensitivity.
Shattered Screen
A spiderweb-like shattered display requires immediate replacement for safety and functionality.
LCD/Display Damage
When the internal display shows black spots, lines, flickering, or color distortion, the issue is beyond surface glass and requires complete screen assembly replacement.
Phone Broken Screen Repair Options
1. Professional Repair Services
Professional technicians use specialized tools and replacement parts to fix your screen accurately. This option is ideal if your phone is expensive, under warranty, or has complex internal components. A professional repair ensures the replacement screen fits correctly and works reliably.
2. DIY Screen Replacement
DIY screen repair is popular among users who want to save money or enjoy hands-on solutions. With proper guides, tools, and replacement parts, many smartphone owners successfully replace their screens at home. This option requires patience, precision, and the right equipment.
Whether you choose professional help or DIY, screen repair is necessary to restore your phone’s performance and prevent long-term damage.
Tools Needed for DIY Screen Repair
DIY repair requires proper tools to avoid damaging internal components. Common tools include:
- Precision screwdriver sets
- Pry tools and plastic opening picks
- Suction cups
- Heating pad or heat gun
- Anti-static tweezers
- Replacement adhesive
- SIM tray ejector
- Screen assembly replacement (specific to phone model)
These tools help ensure smooth disassembly and reassembly, keeping your device safe throughout the repair.
Steps Involved in iPhone Broken Screen Repair
While each phone model differs, the general steps of iphone Broken Screen repair usually follow this sequence:
Step 1: Power Off the Device
Always turn off your phone before beginning any repair work.
Step 2: Remove Screws
Using a precision screwdriver, remove bottom screws near the charging port.
Step 3: Heat the Display
A heating pad softens the adhesive around the screen, making it easier to lift the display.
Step 4: Lift the Screen
Using a small suction cup and pry tools, gently lift the screen from the frame.
Step 5: Disconnect the Battery
Before removing the display completely, disconnect the battery to avoid short circuits.
Step 6: Remove Display Cables
Disconnect all display flex cables connected to the motherboard.
Step 7: Install the New Screen
Place the new screen assembly and reconnect all cables securely.
Step 8: Reassemble the Device
Reattach the display, press it into place, and screw everything back.
Step 9: Test the Screen
Ensure touch functions, brightness, and display visuals work perfectly.
Common Mistakes to Avoid During Screen Repair
Using Excessive Force
Applying too much pressure can break internal components or damage ribbon cables.
Ignoring Adhesive Placement
Proper adhesive ensures the screen fits tightly and prevents dust from entering.
Forgetting Screw Locations
Phones have specific screw sizes and placements. Misplacing screws can damage the motherboard.
Skipping the Battery Disconnect Step
Failing to disconnect the battery before handling cables risks short-circuit damage.
When Professional Repair Is the Better Option
Certain situations require professional help:
- Severe internal display damage
- Frame bending or misalignment
- Water-damaged devices
- High-end models with complex components
- Lack of proper tools
Professional repair ensures safe handling, quality parts, and guaranteed results.
How to Find Reliable Screen Repair Services
When searching for phone Broken Screen repair services, look for:
Positive Customer Reviews
Check what previous customers say about the service quality.
Warranty on Parts and Labor
A good shop provides warranties to ensure long-term trust.
Skilled Technicians
Certified technicians handle delicate components carefully and efficiently.
Transparent Pricing
Reliable repair shops offer clear quotes without hidden charges.
Why You Should Use High-Quality Tools for Repairs
Cheap or unreliable tools can damage sensitive parts or break easily during the process. High-quality tools ensure safety, accuracy, and efficiency. They help prevent internal damage and support long-term durability after repair.
That’s why many technicians and DIY enthusiasts rely on professional tools from trusted platforms that specialize in mobile repair equipment.
Where to Buy Tools and Parts for Screen Repair
For those doing repairs at home or running a shop, having access to the right tools is essential. At DIYFixTool, you will find a complete range of mobile phone repair tools and accessories designed for professionals and beginners. Their products include:
- Screen replacement kits
- Precision screwdriver sets
- Phone opening tools
- Adhesive strips
- Repair mats
- Mobile batteries and screens
Everything you need to perform reliable, safe repairs is available in one place.
Final Thoughts
Broken screen repair is essential for maintaining your smartphone’s performance, comfort, and safety. Whether you opt for a professional technician or prefer a DIY approach, understanding the process helps you make informed decisions. With the right tools, proper techniques, and high-quality replacement parts, you can restore your phone to its original condition and extend its lifespan.
George is the voice behind Wisdomised, a news blog dedicated to delivering fresh, engaging stories that keep readers both informed and entertained. With a sharp eye for current events and trending topics, George crafts posts that make complex news accessible and enjoyable. His unique perspective and storytelling skills bring a refreshing twist to every update, inviting readers to explore the world through Wisdomised.